
Owner Produced Parts – Visor Upgrade
After the interior work I didn’t want to put the orignial 1959 visors back in nor did I want to spend 400 bucks on Rosen Visors. So I decided to make my own and install them as an owner produced minor alteration. Please note I did not do drawings for any of this – it went from my head to the material. I tried document how I made them below but this was a stream of conscious creation.
For this project you will need some 3/8″ hex bar stock, 1/4″ thick plexiglass, and a few screws. Links for each below:
https://www.onlinemetals.com/en/buy/aluminum/0-375-aluminum-hex-bar-6061-t6-extruded/pid/21166
https://www.amazon.com/gp/product/B0721V2ZMH/ref=ppx_yo_dt_b_asin_title_o03_s00?ie=UTF8&psc=1
You will also need a few 8-32 machine screws to mount the plexiglass to to the rods.
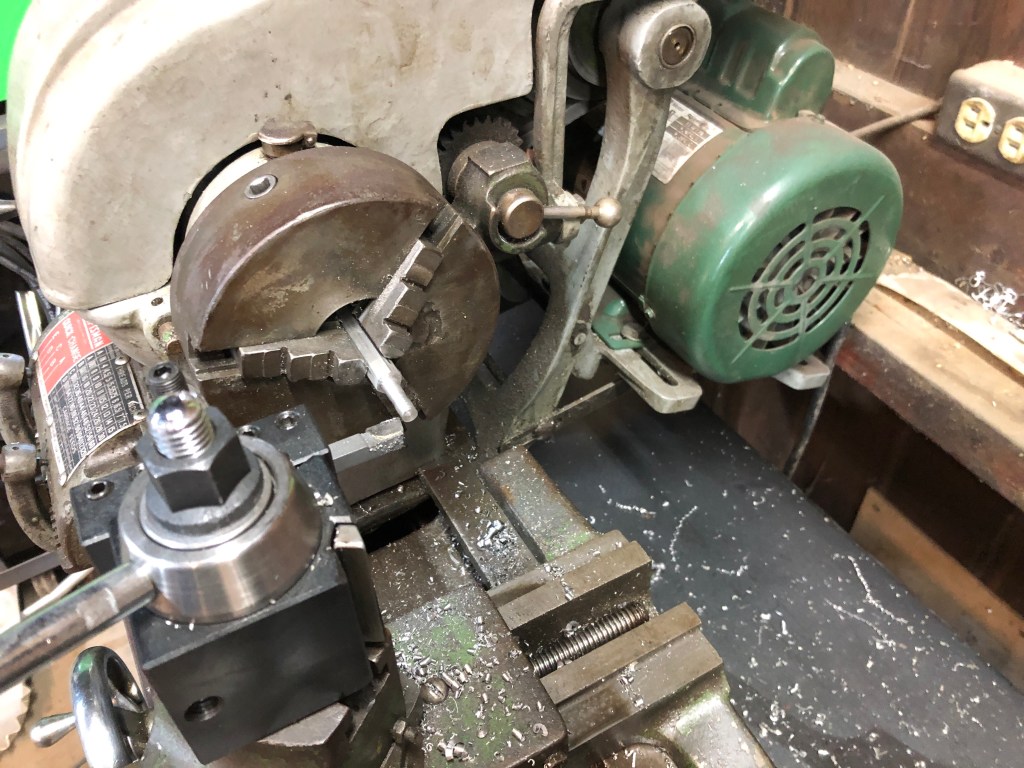
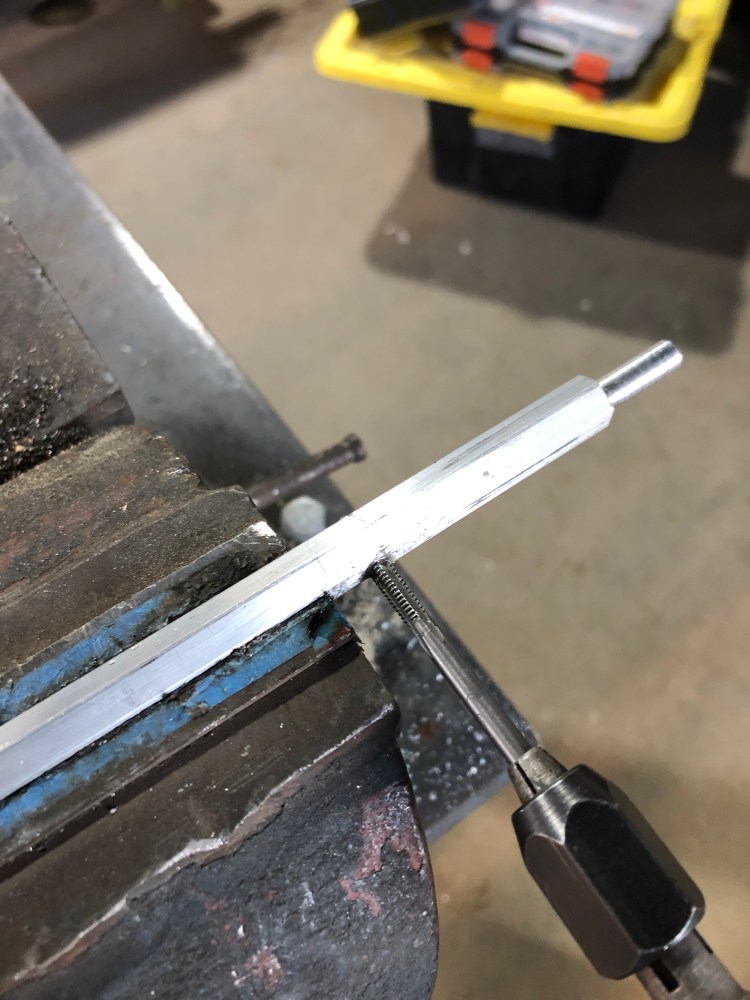
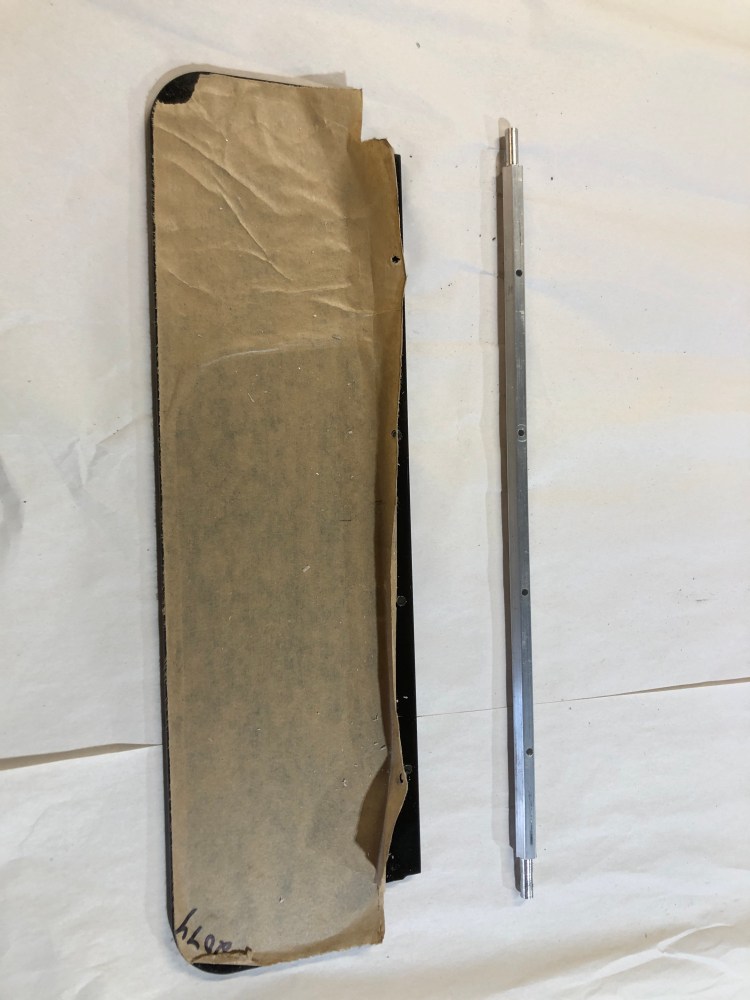
First step is to cut the rod’s to legnth at 14.5”. Then machine 1/4″ diameter stub shaft on each end. This allows the hex bar to fit in the original piper mounting hardware.
After the shafts are cut to legnth and machined its time to drill and tap four mounting holes to secure the plastic visor to the shaft. The 8-32 screws require and 8-32 tap which can be a challenge to get through the hex bar with out breaking the tap. Go slow and use aluminum cutting fluid!!
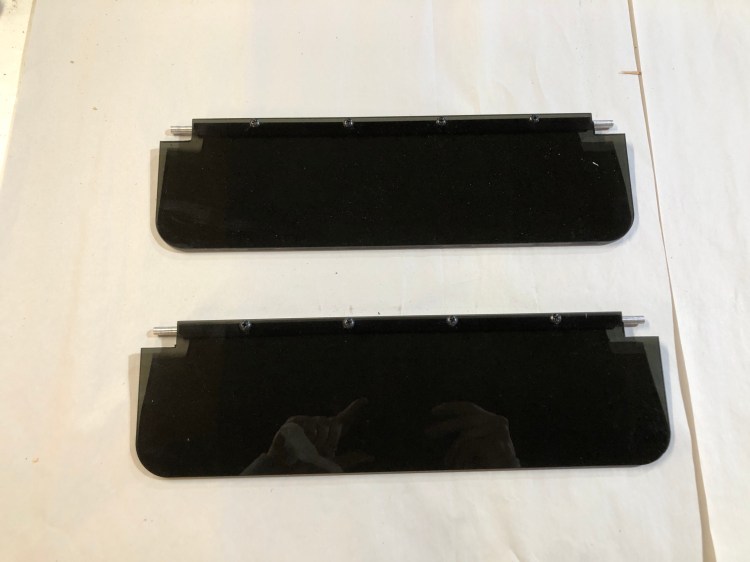
With the shafts machined and tapped its time to cut and mount the plastic visors. I used the 1/4 tinted plexiglass listed above cut to the same shape as the original visors. You can use a table saw, band saw, waterjet machine or milling machine to cut the plexi.
With the visors cut we can use the shaft as a template to match drill the screw holes in the plastic visor. After that its as simple as screwing the visor to the shaft. I used black brass instrument screws to blend in with the visor plexiglass.
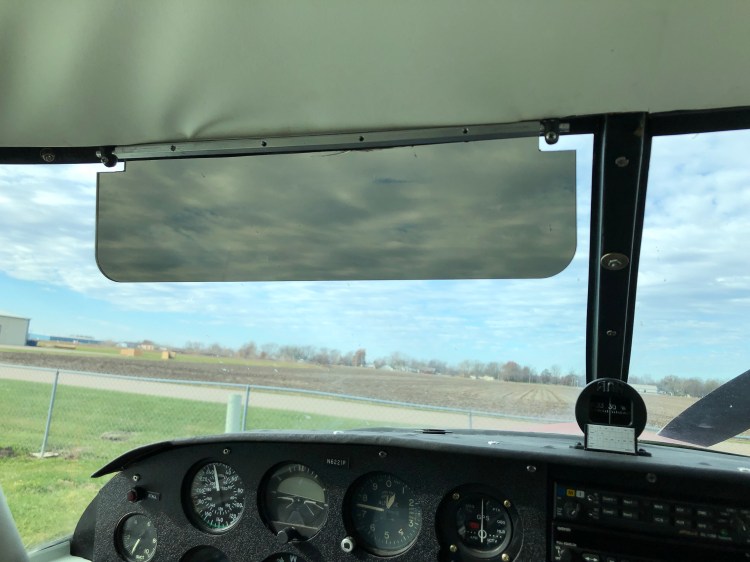
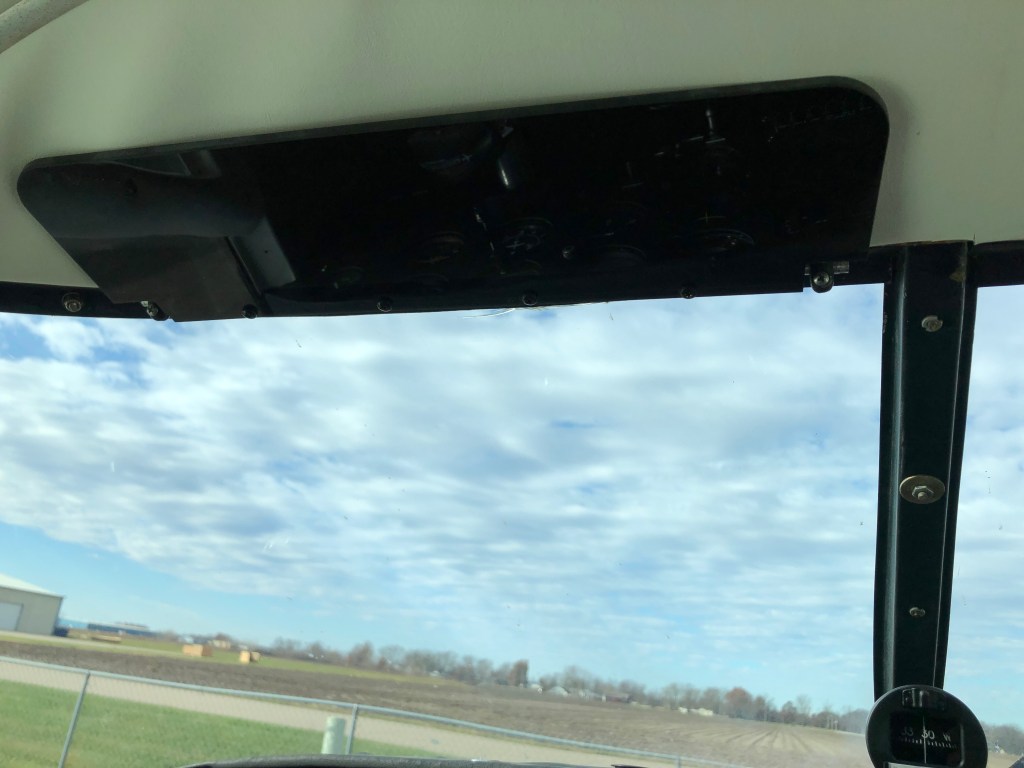
Now they are ready to go into the plane using the orignal piper mounting mounting brackets.