
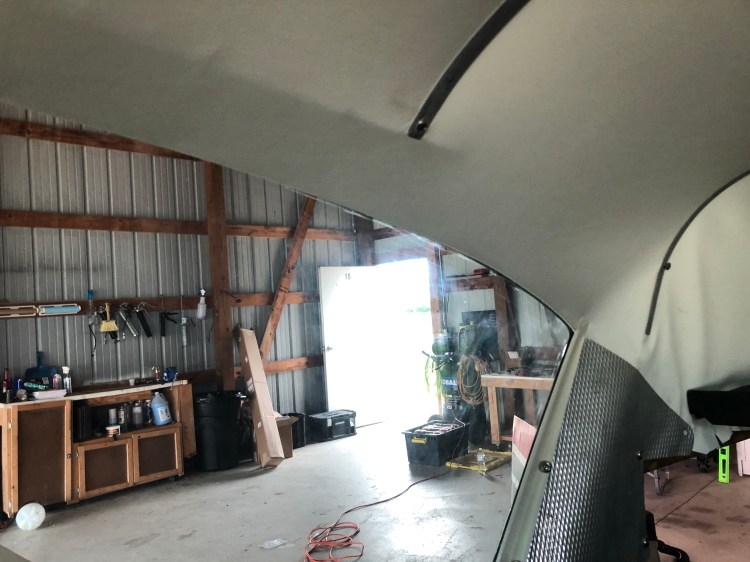
We spent Memorial Day weekend pressing ahead on the Comanche. Our goal was get the engine cowled up, install the new interior, and taxi the airplane for the first time. I logged 53 hours of wrench time in four days. First lets talk about the interior.
We chose to do a hybrid DIY interior, partly to save money and partly to get the look we wanted. We ordered a carpet and headliner kit from Airtex along with 6 yards of vinyl, 4 yards of fabric, five yards of sound proofing plus screws, glue, welting, and paint.
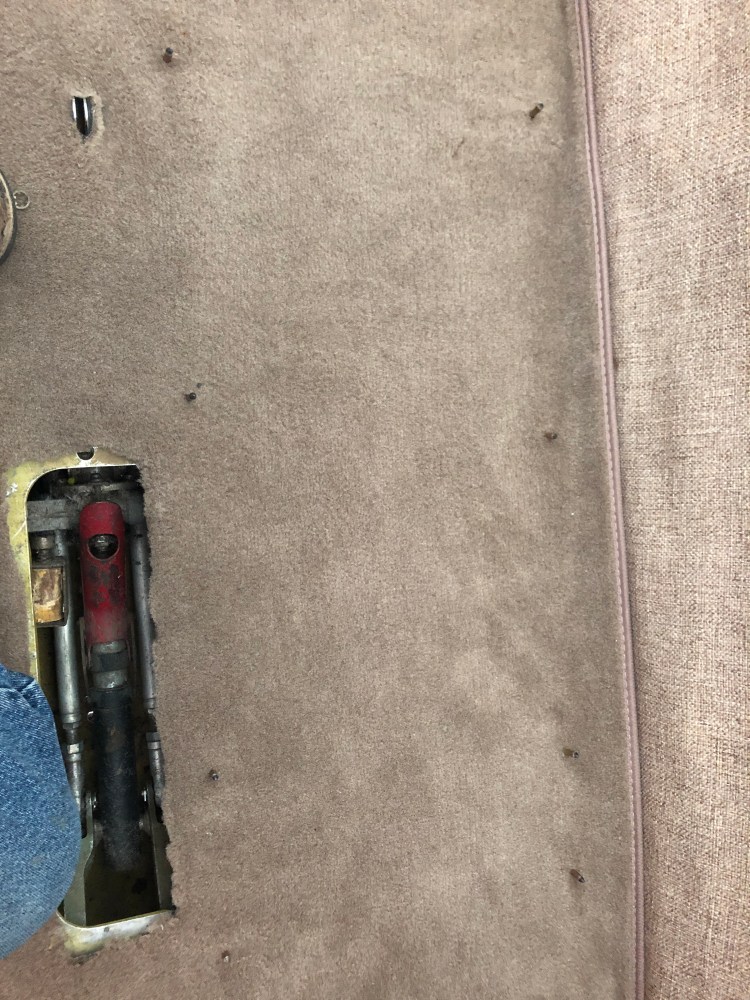
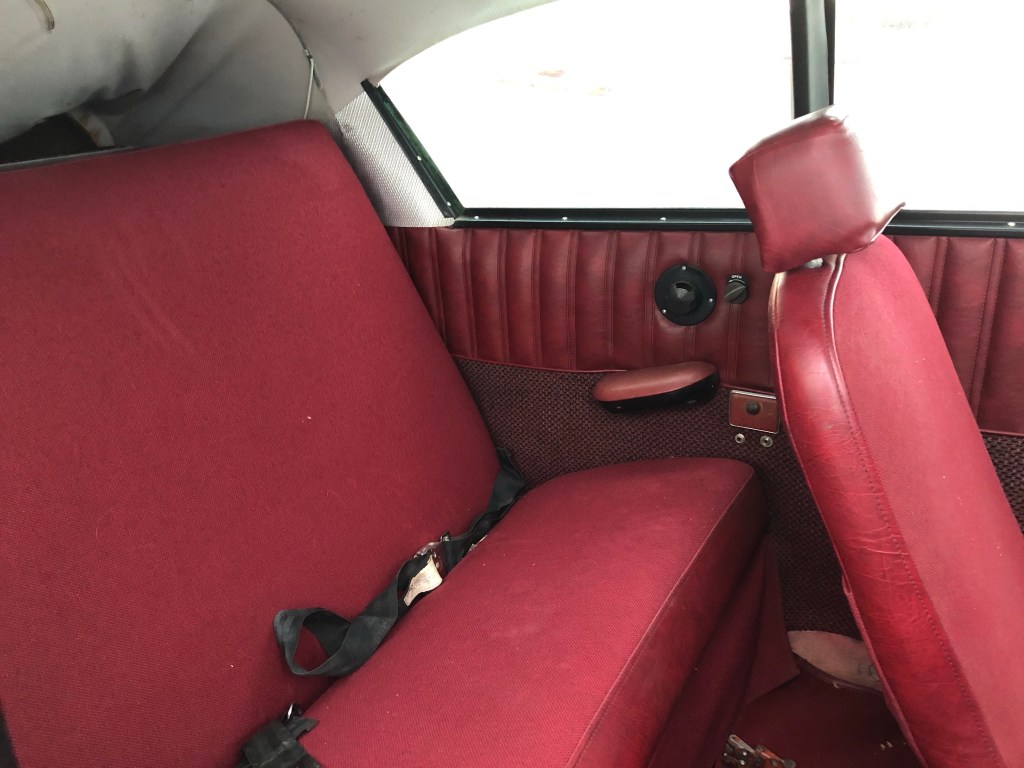
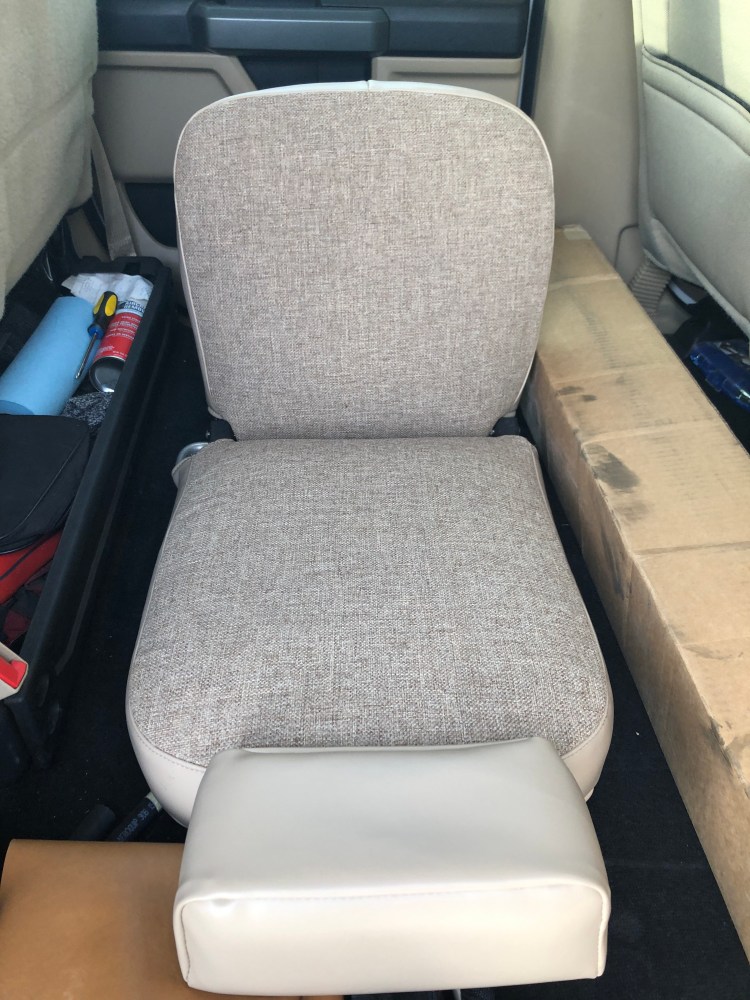
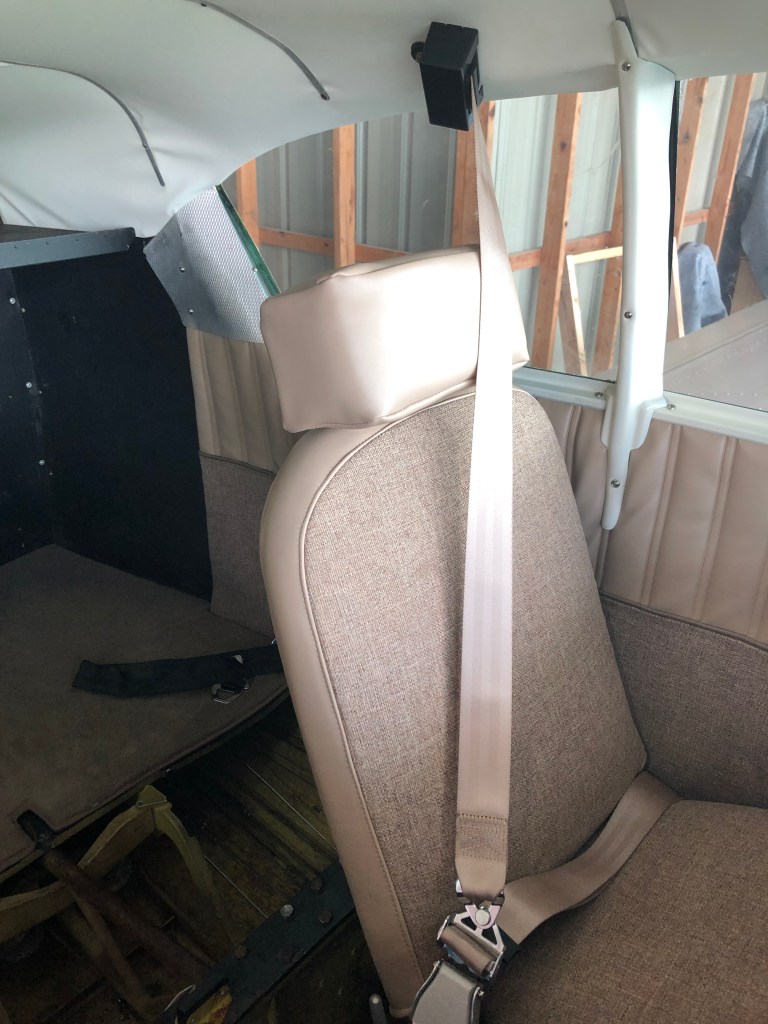
The original interior was a dark red and was literally coming apart as you sat in the plane. (Don’t let the above pictures fool you… it was bad) My other half wanted a lighter interior to brighten things up and make the plane appear bigger. We compromised and chose tan vinyl, duraweave oak fabric, elk door and panel welting, sand carpet and a white headliner. We used a local upholstery company to recover the seats and we did the side panels ourselves. Total cost for this was $2800 and 20 hours of my labor.
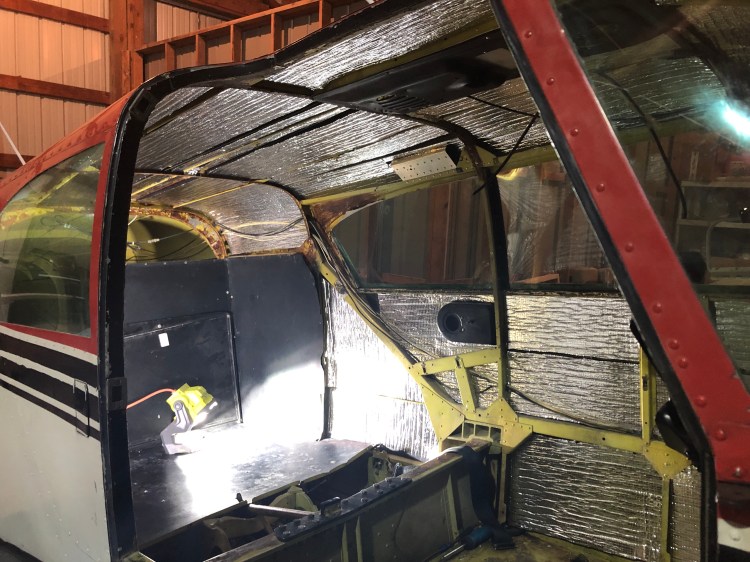
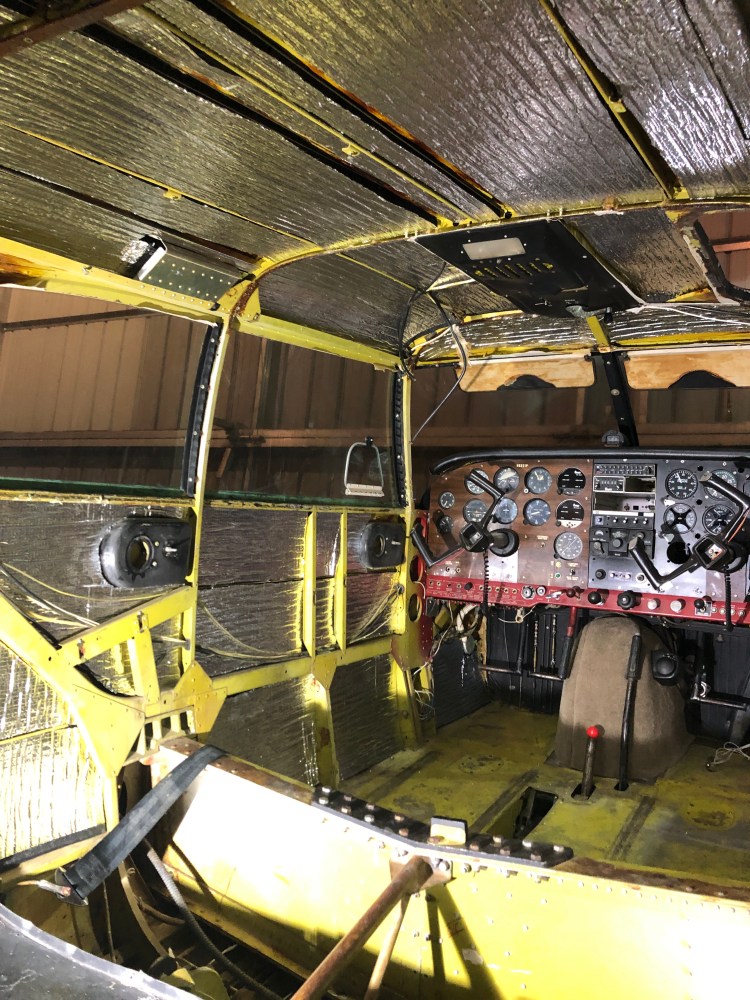
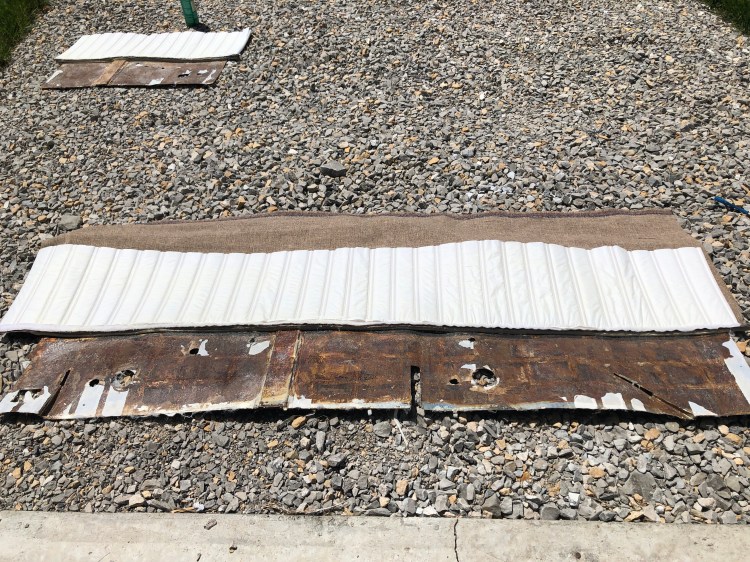
We started with the removal of the old interior and the original fiberglass insulation. I used a nylon wheel, drill and a respirator to remove the old insulation. I did not remove the 60 year old glue as I value the original zinc chromate more than a glue free surface. After we removed the insulation the new closed cell foam insulation went in. While I had things open I pre wired for GPS antennae with RG-400 cable for the panel upgrade.
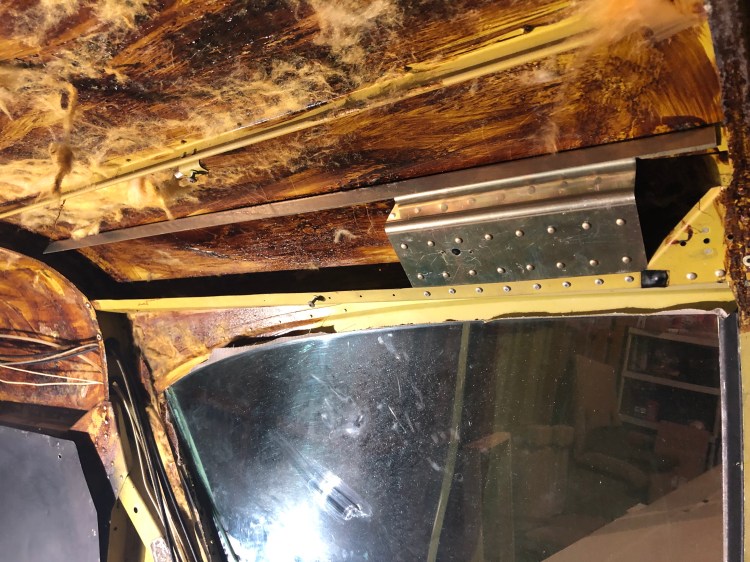

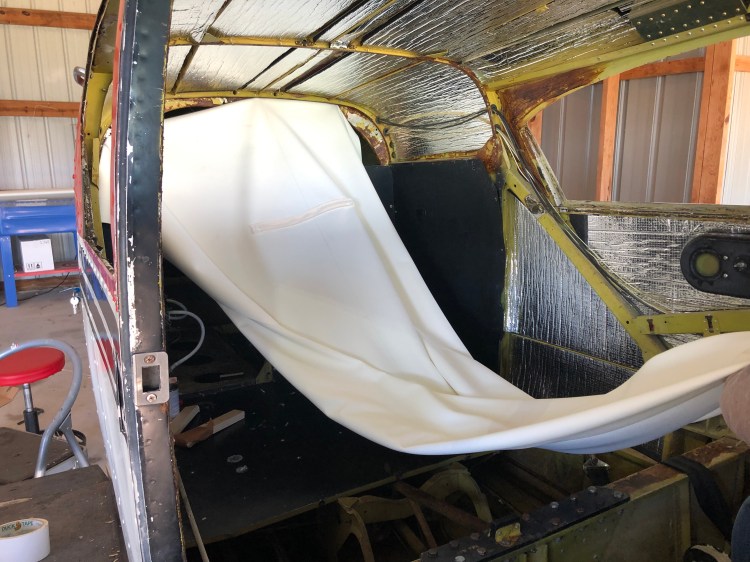
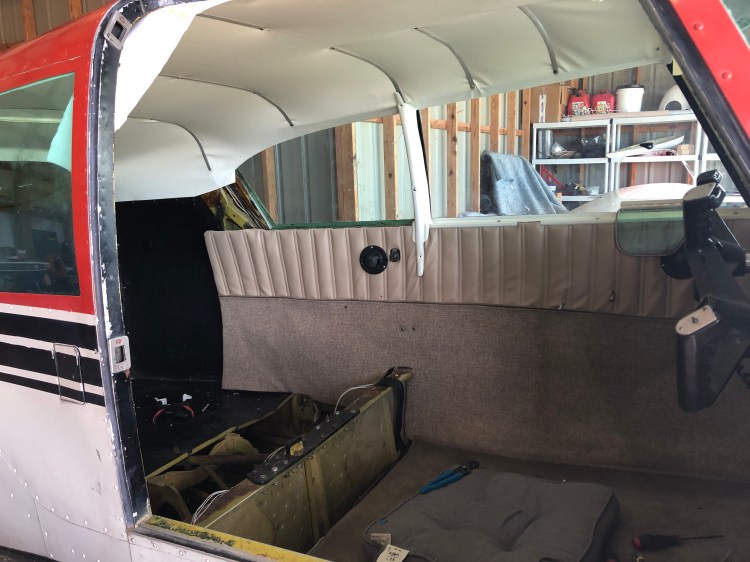
The major event was the headliner install. It was not easy. We learned a ton and will probably do it again in the near future to get it perfect ($125 in materials and a Saturday).

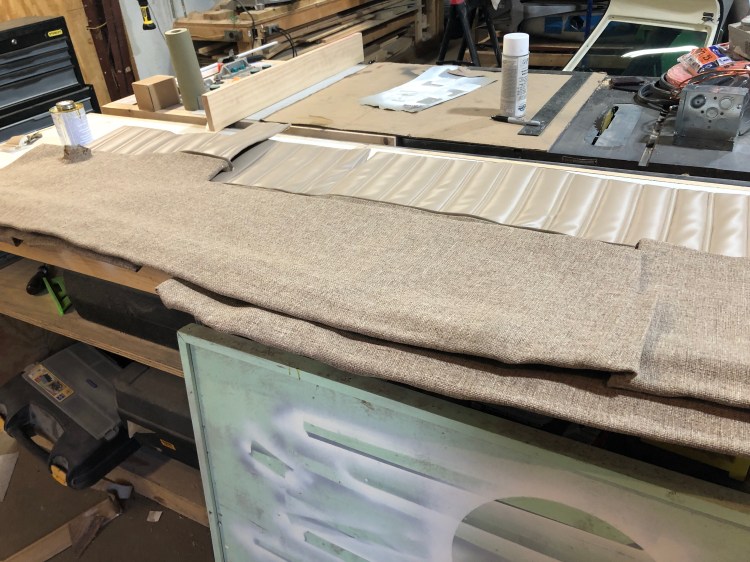
After the headliner was in we assembled the side panels. We like the pleated look that the plane came with and the wife wanted to recreate it. We had Carolina Seal and Quilt recreate the heat pleated vinyl with a few yards of material from Airtex. The cost for this was less than $200 and added a great detail to the interior. We had a local leather repair and alterations company sew the fabric, welting, and pleated vinyl sections of the panel together. Cost for this was $40 for all the panels.
Assembly was straight forward using 3M Super 90 adhesive for the vinyl / fabric assembly and the foam backer to the aluminum frame.
We also refinished all of the window trim (both metal and plastic) with a krylon fusion white to brighten things up from the matte black. The aluminum trim was all glass bead blasted prior to primer and paint.
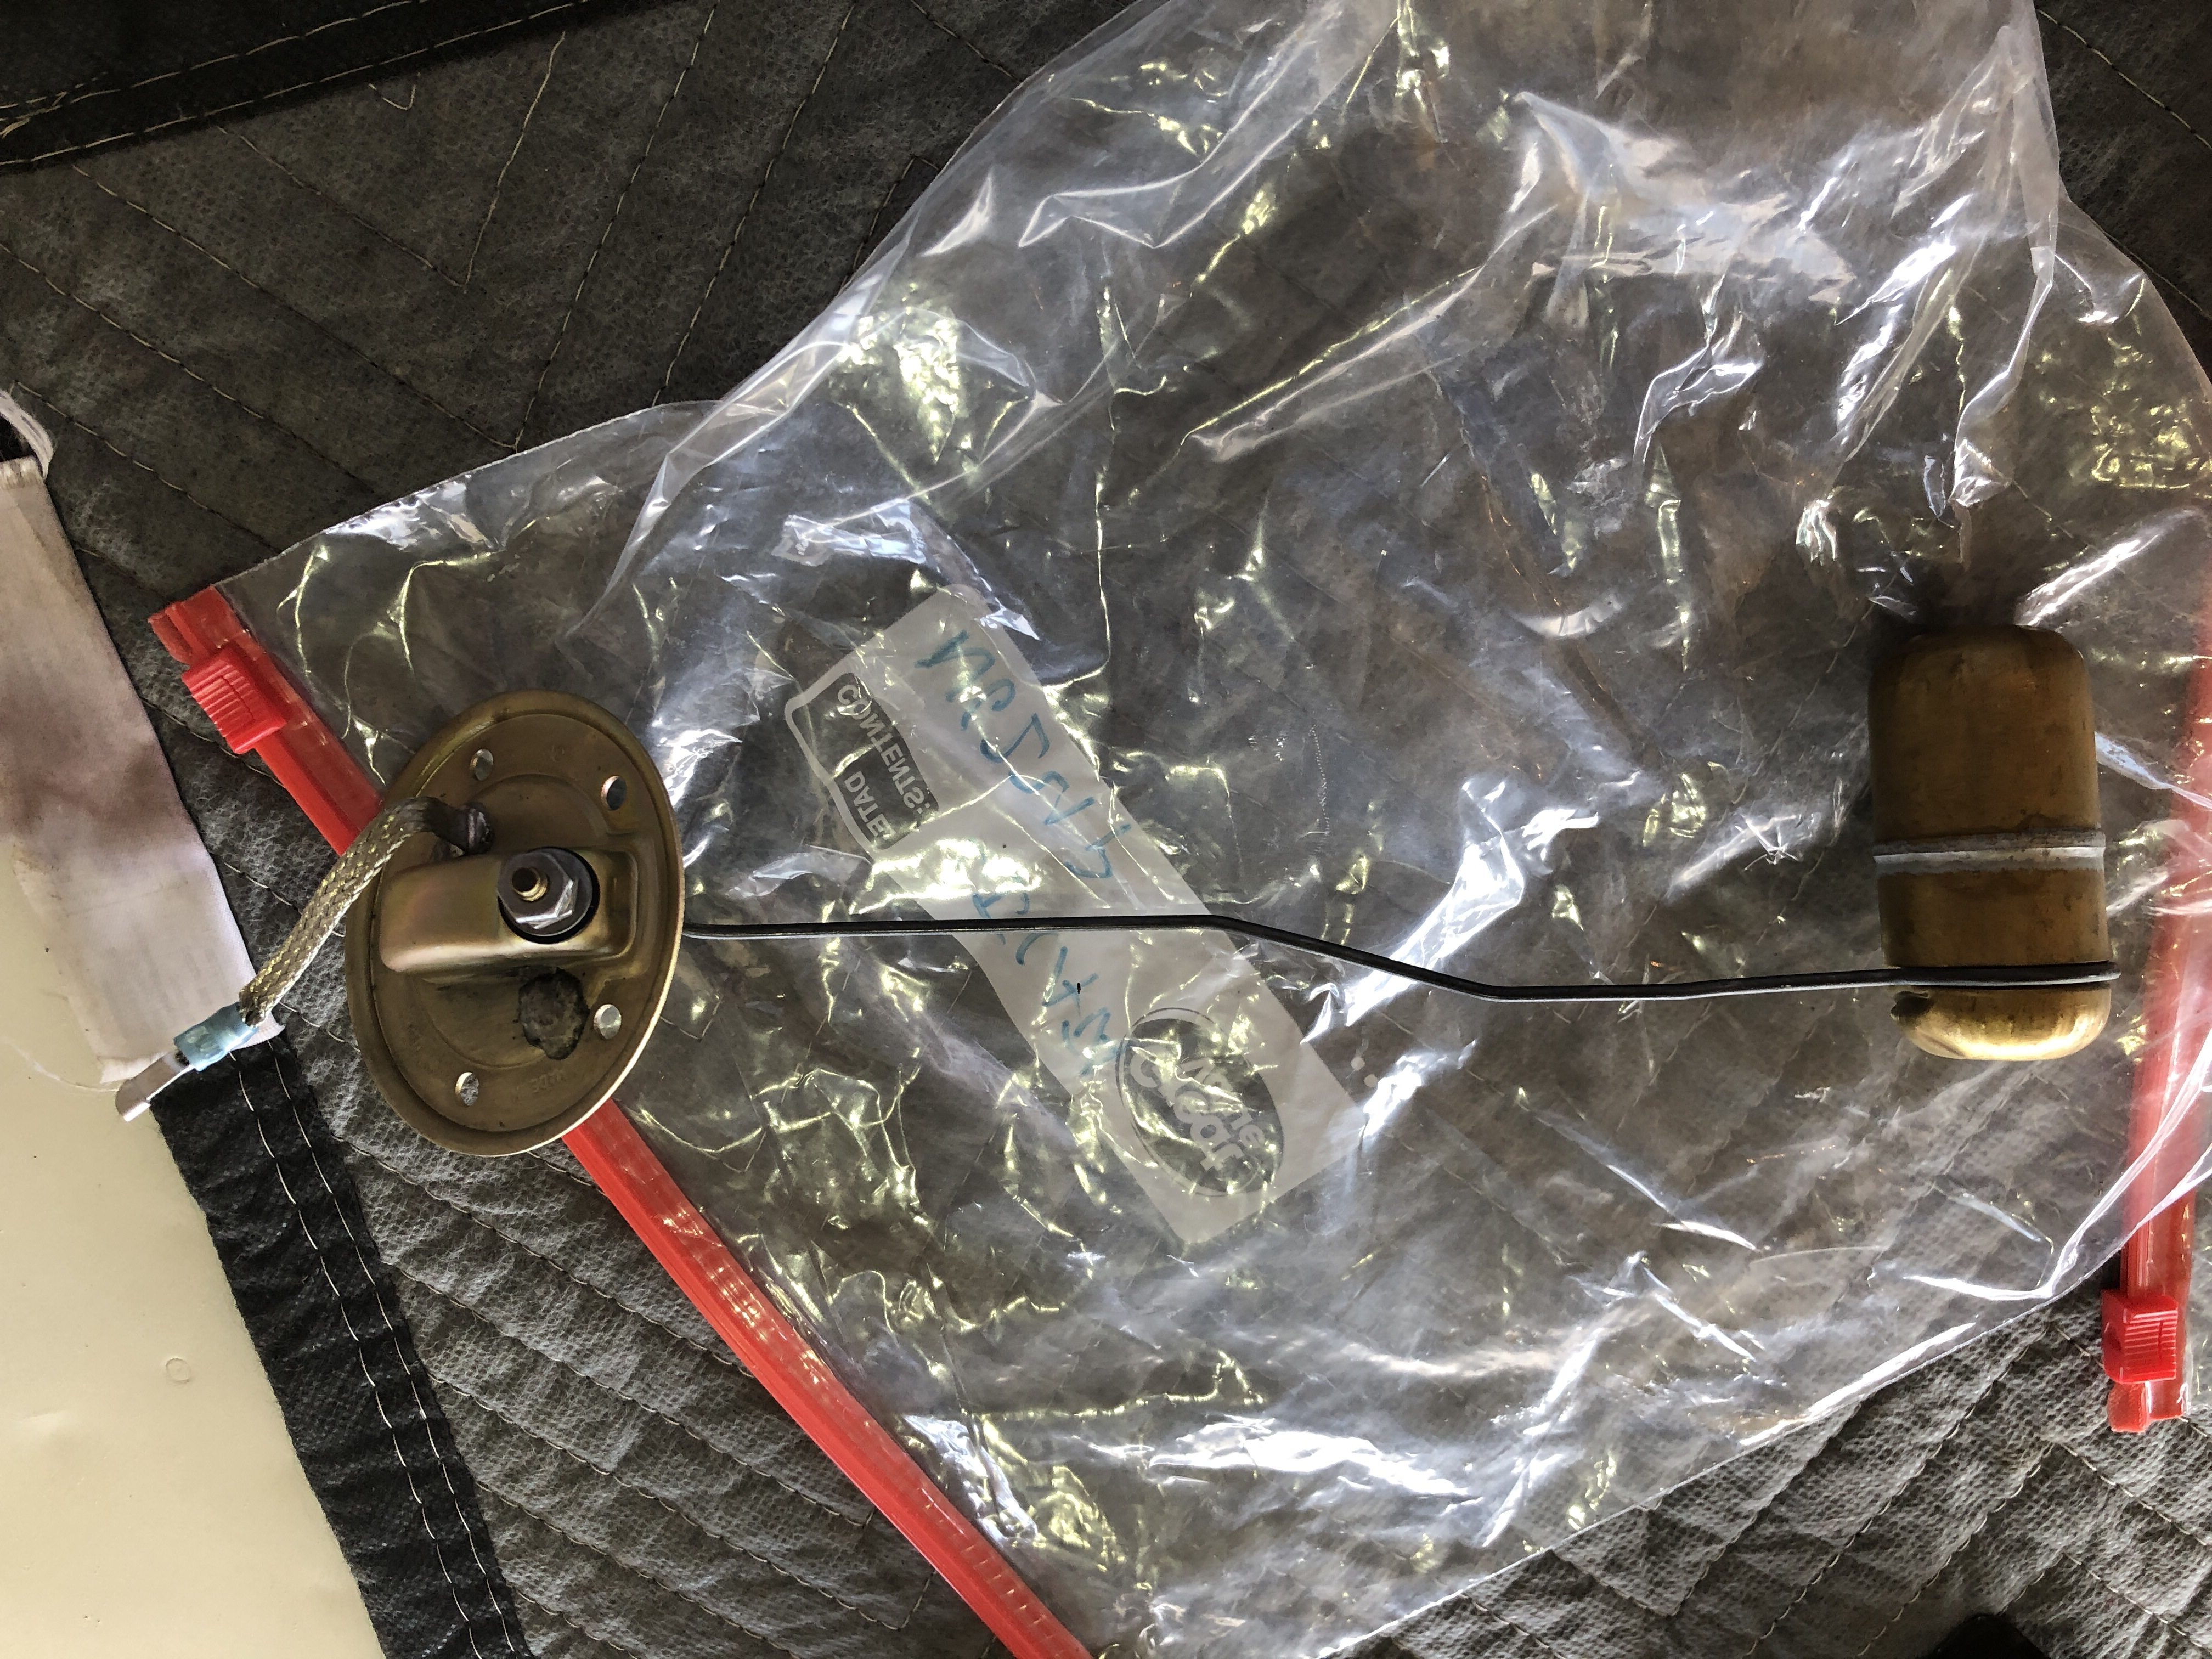
After the majority of the interior was in we cowled up the engine and installed our newly overhauled fuel sending units from Webco and closed up the inspection panels. Upon reinstall of the fuel senders I complied with AD 68-13-03 to prevent fuel cell collapse and verified the accuracy as I filled the newly installed fuel cells. I am very impressed with the accuracy of the fuel sending units paired with a Westach Quad Gauge. The Westach Gauges were installed many years ago on a field approval. I don’t know if you could get such approval today and with all of the digital options out there with STC approvals there are better ways to replace your factory gauges. But they look vintage and complement the panel.
With the interior well on its way, fuel system operational, door back on and cowl on we were ready for engine start and taxi. At 2000 hours on a Sunday night I was ready. I pre-flighted as if I was going to fly ensuring no ground ops mishaps. Went through the before start checklist and hit the starter button. The engine fired on the first rotation – always a great feeling for a mechanic after major work. Mag check was on the money and that’s where the good news stopped. I cycled the prop and got nothing. Only a slight movement on the oil pressure gauge. And that’s where we are – trouble shooting the prop gov.

