
The exterior of the engine on N6221P was visually in good shape; clean with little to no corrosion, good paint and shiny cad plating on all the fasteners—all good signs. There were large gaps in the logs. The fragmented documents we had show the engine was transplanted from a Beechcraft Duchess about 15 years ago and overhauled a few years before that. A call to Lycoming confirmed a manufacture date of 1959 as an O-360 A1A which matched the original log book. The engine’s life story appeared to make sense, but there were 2 AD’s that I could not find a log book note for concerning connecting rod bolts and sintered iron oil pump impellers. Additionally, I wanted to confirm or deny any internal corrosion. Here is how we did it.
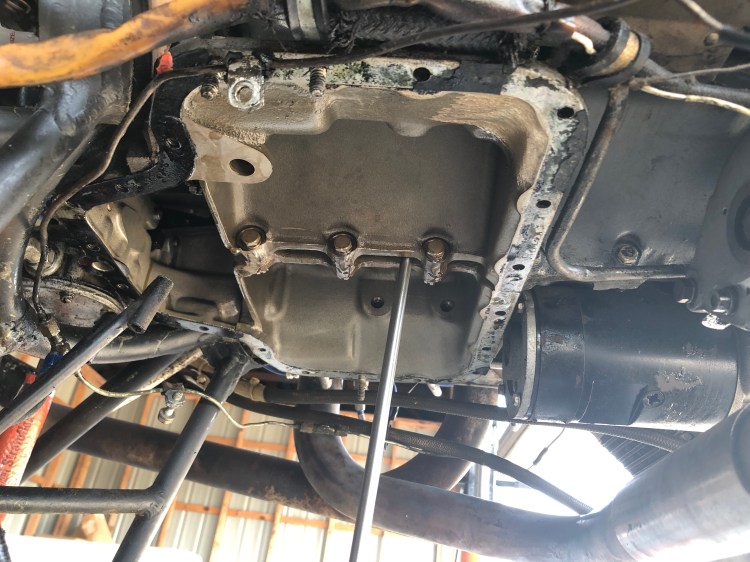
First I dropped the carb / oil sump / intake. I inserted a borescope between the case halves to examine the connecting rods and camshaft. Genuine Lycoming connecting rod bolts were easily confirmed with some maneuvering of the scope. The camshaft was also visible albeit with 30 minutes of scope manipulation to see all the lobes. All the lobes appeared shiny with minimal wear. Below is a picture with the scope inserted between he case halves. I am very much opposed to pulling cylinders unless absolutely required. This approach allowed enough access to get the picture I needed.
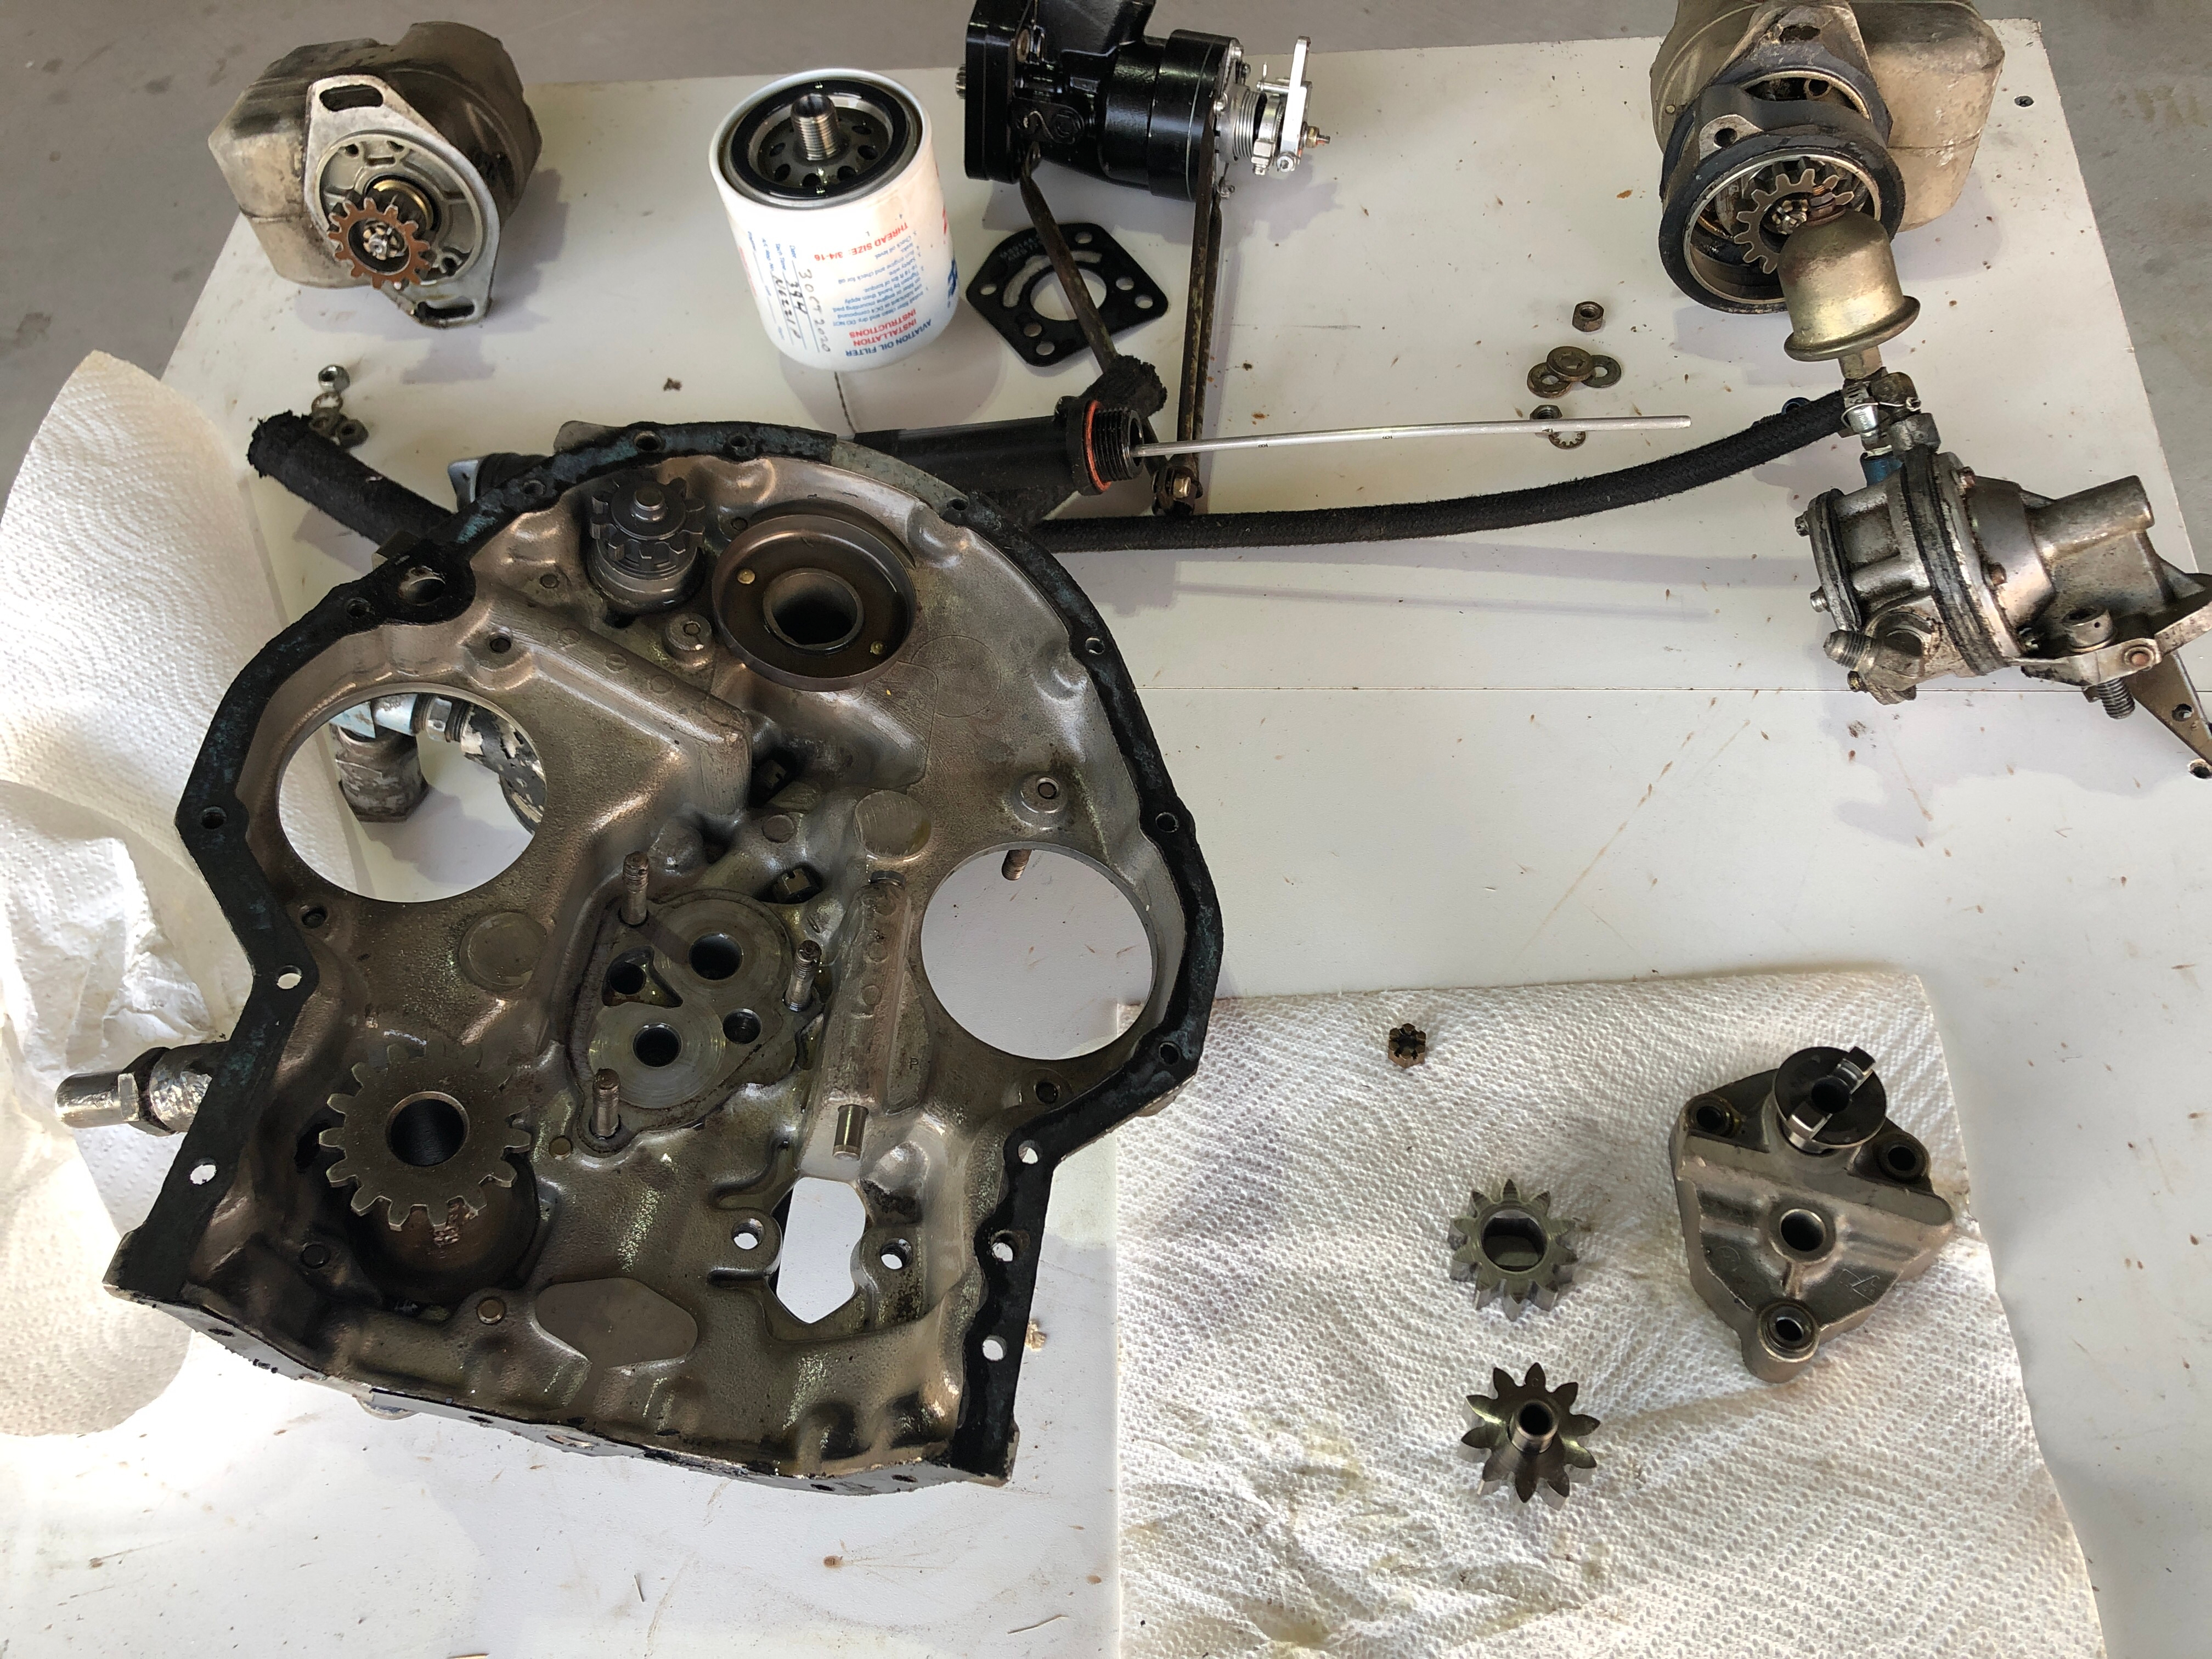
Then I removed the propeller gov, mags, vacuum pump, fuel pump and oil filter in order to remove the accessory case. This provided direct access to the oil pump housing to inspect the impellers. The sintered iron impellers are easily identifiable with their greyish textured appearance. Thankfully I had conforming steel impellers and was able to proceed to reassembly. Below is a picture of the accessory case and oil pump impellers.
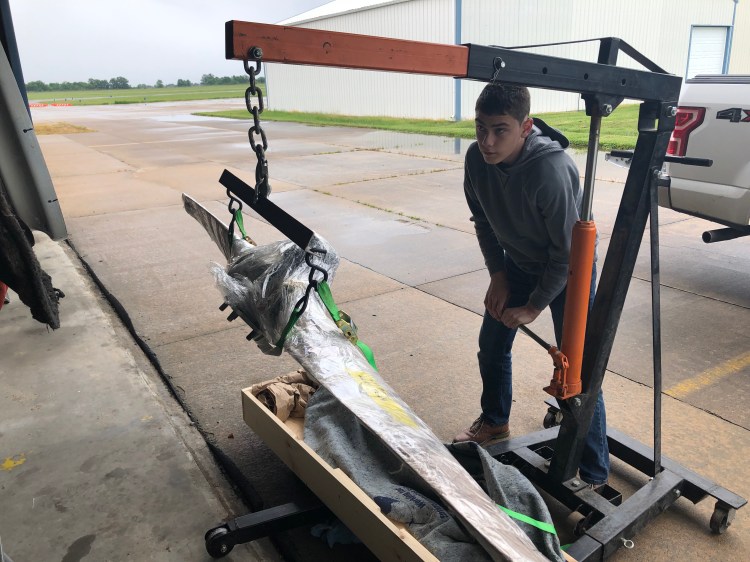
Next, I reasembled everything and reinstalled the propeller. The propeller had been overhauled in 2009 and installed on 21P and only had 3 hours on it since. Due to the low hours we opted for an IRAN and re-seal which was supported by our propeller shop only due to the low hours since overhaul and complete documentation of AD compliance. This propeller has the dreaded 500 hour AD and will most likely be replaced when that time comes. In the mean time we have an airworthy prop with new seals, bearings and new paint for minimal cost.
With the major components done I moved on to firewall forward clean up. I like clean hose routing with minimal zip ties and a judicious use of adel clamps. More on this later.
